

If you missed the first part, you may want to catch up by going here:
http://wildberryranch.blogspot.com/
Also, check out instructions again here

Now, on the end of two strips, fold them into thirds, then into thirds again, so that you have a very narrow folded end.


Next, join two strips. This is easier than I will make it sound. Right sides up, on your lap, a table, etc, lay down one strip and put another strip over the top, matching the holes. Just like you are extending the strip.

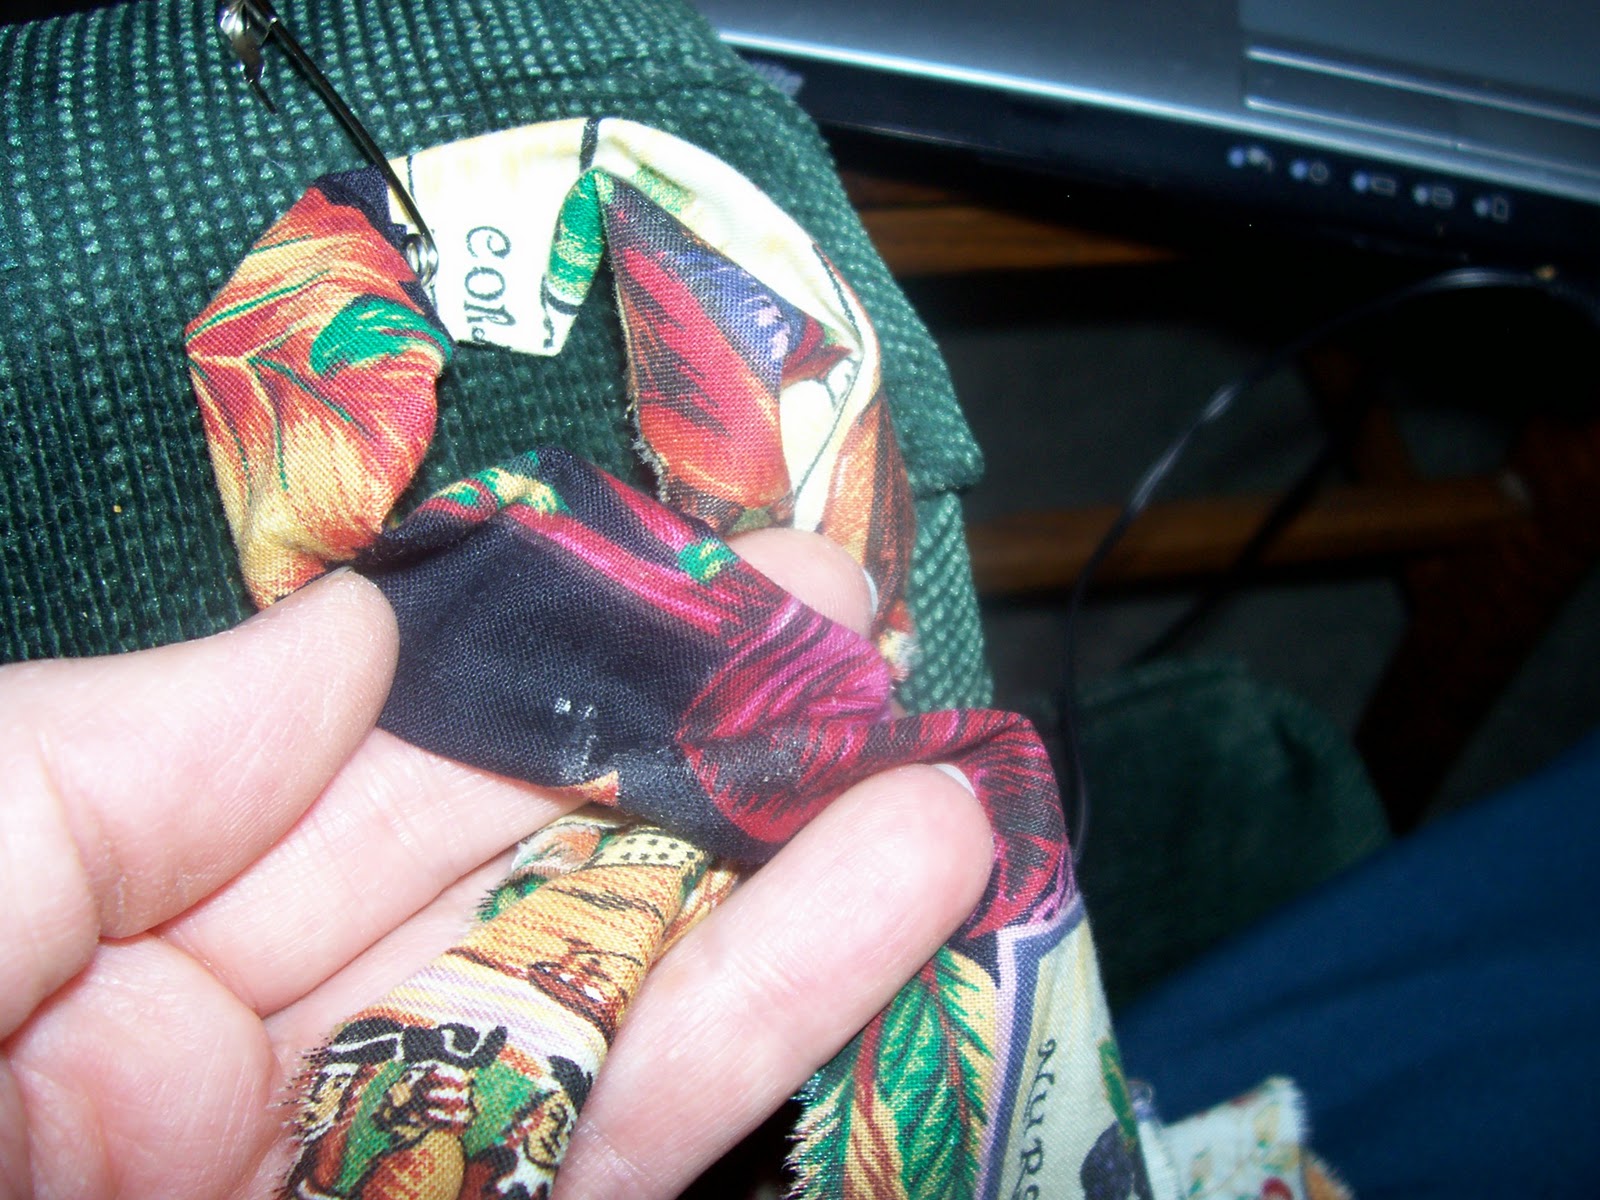
Take the top strip and find the end with the safety pin, bring it up from the bottom through both holes.

Pull it through until they are joined. If you pull too tight, then you will have the ends come through. Don't do that. Just pull enough that they join. Here is the back (fabric wrong side)

and here is the front.


This can be the fabric on your leg (ouch!) or the arm of a chair. Start making knots, tying them the same way, left strip over the right, or the right strip over the left. Be consistant.
Don't draw them real tight. Do several and you will notice that there are holes, you will use these.


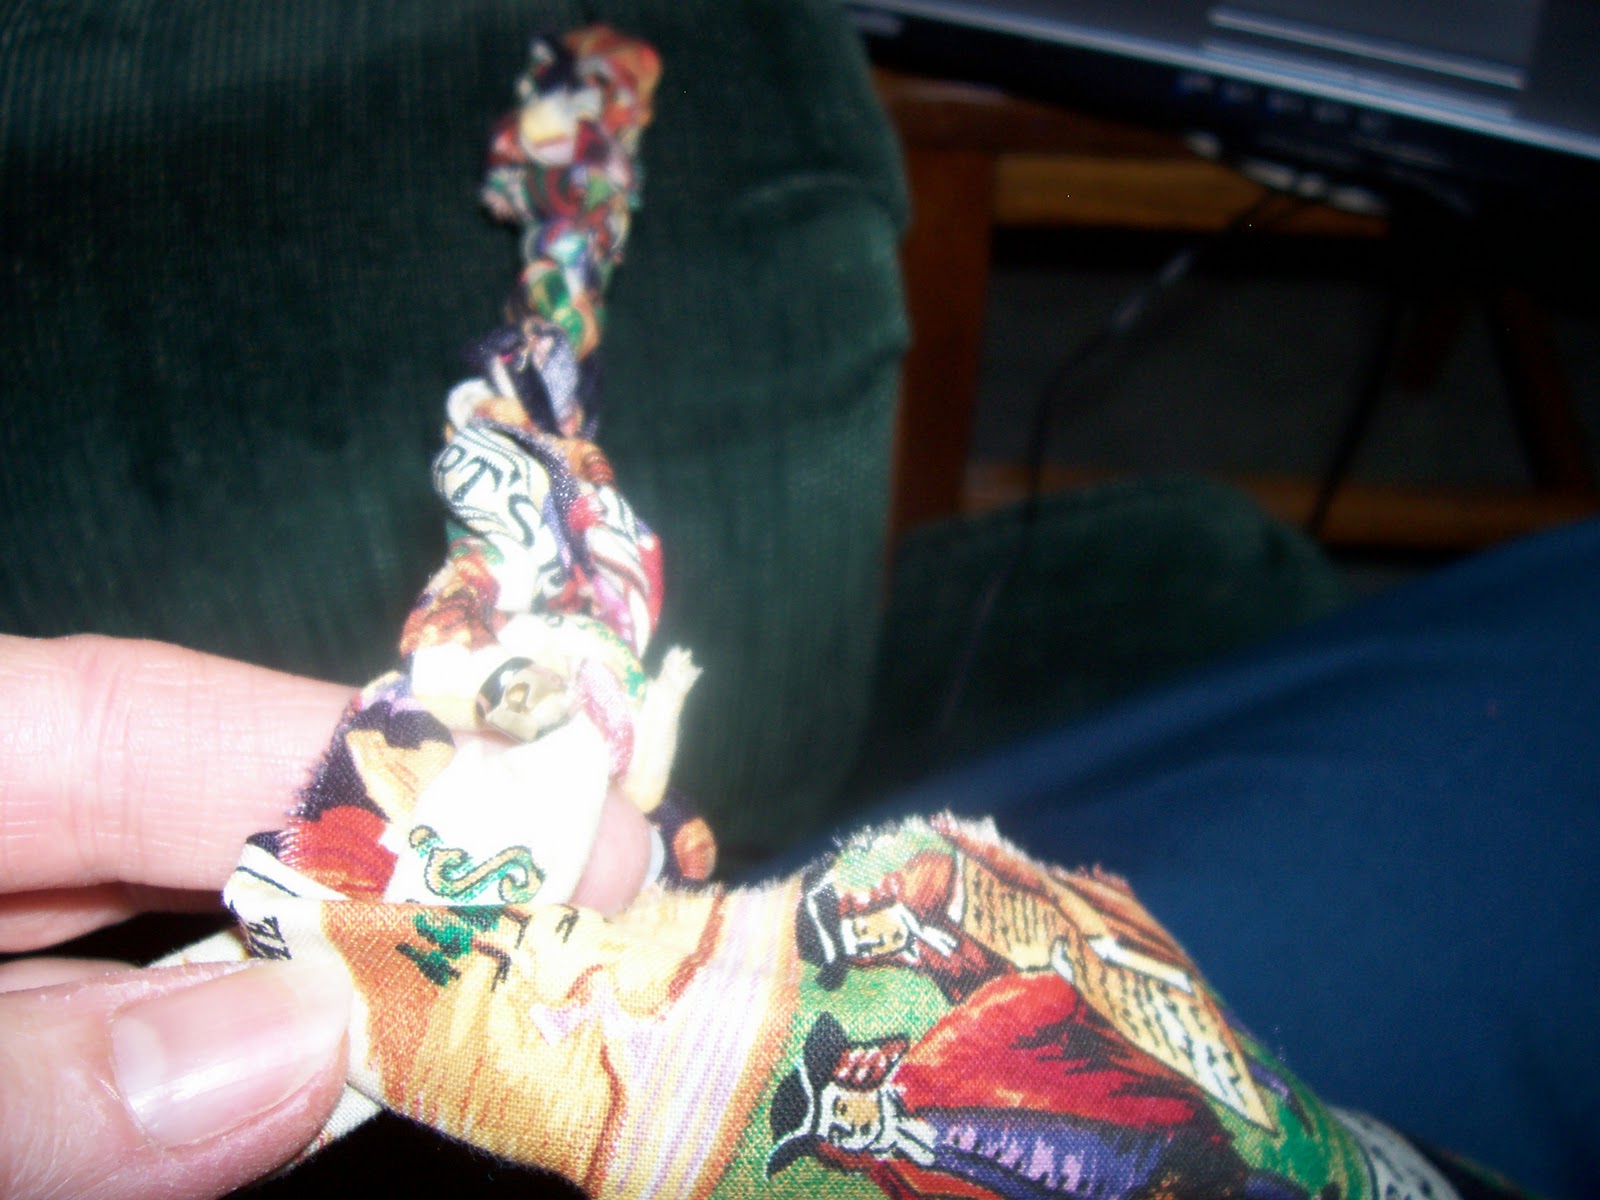
Now work one knot at a time around to the other end. Add extra knots into holes as you go around. When your rug gets larger, you will add on the rounded ends, not ususally on the straight sides. This will make an oval rug. There are ways to make round rugs (If you have crocheted, you know how) and also square or rectangular rugs. This one seems to be the easiest.
You are using the fabric from your strips as you tie those knots and your strips are getting shorter, then shorter, etc. When the end you are working with is around 6", remove the safety pin, attatch it to the next color strip you want to use and attatch the strip to the one on the rug using the method outlined above. Now, if you staggered you strips, one will be longer than the other, that is good, so that your joining knots will not be right on top of one another. Continue with your strips until you reach the size you would like for a finished product. This could be a small rug, a chair pad, a placemat, or it could even be a room size rug, your choice.
When it is time to end your project, pull your last knot around to the back and weave your ends around and through several previous rows until it is hidden in the colors.
I have found that as I work, at first it is easy to lay on your lap, then it starts to hang over, you don't want bubbles or knee marks in your rug, so roll it over or work on a table in front of you. Sometimes you need to lay it down on the floor to admire your work, (walk away, turn around and squink and see if you really did this piece of art) I took the makings on an airplane and had many stop and ask what was I doing...
I have laundered my rug - I used cold water, spun it really good and hung it over a chair to dry by the fire. In the summer I will probably lay it out on a table outside. You can dry it in the dryer if you want, I just wanted it to last a little longer and as it wears, it will look more vintage and homey.
Any questions would be welcomed. I wanted to share this with you, but I don't know if I was clear or not. Enjoy your new rug.
Wow, this is very cool. I'm not sure I've seen the knot method before, only braids. What a great way to use up extra pieces of fabric.
ReplyDeleteHelen, would you mind directing me to the coffee/punch recipe you mentioned awhile back. I remember looking at it, I don't remember what I did with it. My daughter's shower is in a few weeks and I'd like to make a batch. Thanks! Kim
ReplyDeleteI've never heard of this rug making style. It sounds simpler to me then braiding rugs since it is all finished at one time.
ReplyDeleteThanks for your directions!
Gina