Wednesday, May 7, 2014

A Monthiversary

Pin It
I don't even know if there is such a thing. But it sounds fun, huh?

We are coming up on one. In fact, it will be our 504th. Over 500 months of marriage. It seems like yesterday in some ways. We have had our differences over the months, who hasn't? After all, we are human. We all have our ways that seem to be the best in our eyes. But, marriage is all about working together to show His glory through marriage.


(A warning, this is a long reminisce)

I was 20. Not that old, unless you consider I had no "steady" interest on my part or anyone else in me. I was having my own little Bible study when it occurred to me that what I really wanted in my life was God's will. So, I started studying with that in mind. What did God want for  me? After my prayer, it came to me that He wanted me to have a family. I knew I could do that... (well, we are all so innocent) But, I knew my own selfish me... So, then I started praying that if He wanted me to have a husband and family, He was going to have to send me my husband. I prayed for this non-existent person. I was sure that if I already knew him, I didn't view him as husband material. I was strong-minded and selfish and I knew that I needed a man that would guide me without letting me have my selfish ways. It then occurred to me (very logically) that this man may not even be saved. So, I then prayed for his salvation and wisdom for him to guide me.

Well, little did I know then what I know now. Mr was a young man that had recently lost his father. He was searching but didn't know it. He felt emptiness where his friends had left voids, his cars, job, his life were all non satisfying. In other words he needed the Lord. One day, he told the Lord, "I give up". He had no Bible training, he didn't know the catch phrases of "salvation", "born-again". All he knew was the religion that he had been brought up in taught him that there was a heaven and there was a hell. So, when he bowed his heart to the one God, he gave his life up to Him.

Not long after, he attended some church groups to see if he could find people that wanted to serve God like he did. There were some friends he knew, two sisters, that invited him to their church. So, he went. He saw the same two sisters who put on a different face at the church than they did at the parties they went to. He saw they led two different lives. That was not what he wanted. He wanted to serve God. He attended some other places. The same story. Their lives did not reflect God.

At his work, he knew a man that was not afraid to tell others about God. He would go around during his break and share Bible verses with whoever would listen, and even if they did not want to listen. Well, they didn't work the same shift, but word got to the older man that he should look up my Mr. There had been a drastic change in his dress, hair (afro cut off), his wanting to talk about the Lord. So, a time was set to meet up. Bible studies started. Mr learned then that this "saved", "born - again" and other words, were the same thing that happened to him - he would say "I saw the light". Isn't it wonderful how the Lord finds us where we are? But, He is too good to leave us there.

Well, back to the monthiversary...

We met at a Bible study. Mr was not looking for a wife. I had decided (with God's help) that I was not looking for a husband. I was waiting for Him to reveal that man to me when it was His time. We became friends, but not interested in "that" way. After some time, I was asking Mr what brought him to the Lord and he told me of the time the Lord had been "tracking him down". Hmm, I then asked when it was, like, when in the calendar year. When he told me, it was a shock to me to remember that was when I had really started praying for my future husband. Well, I didn't say anything then. I was still waiting, but I looked with different eye at him.

More time went by, not a lot, but time to grow in friendship. There came a time when Mr revealed that he had decided that he was not going to pursue what this friendship was leading to. I was a little shocked until he told me that no matter how much he had decided that course, the Lord was telling him that He wanted different! Huh? ! You mean?  Yes, he wanted to court me, with marriage our end! He then asked me what I thought. That is when I told him how I had prayed for my future husband and my first inkling that he may be the one was our conversation about his coming aware of the Lord dealing with him.

Well, the rest can wait for another long story time. How we got married, yes we did! How a tragic event happened just a few days before that wonderful day. And, you know the rest...


That's us on the right, my sister and her husband on the left, a double wedding.

 On our honeymoon in Bodega Bay. We each took each other's photo. I guess it didn't occur to find someone to help us out...
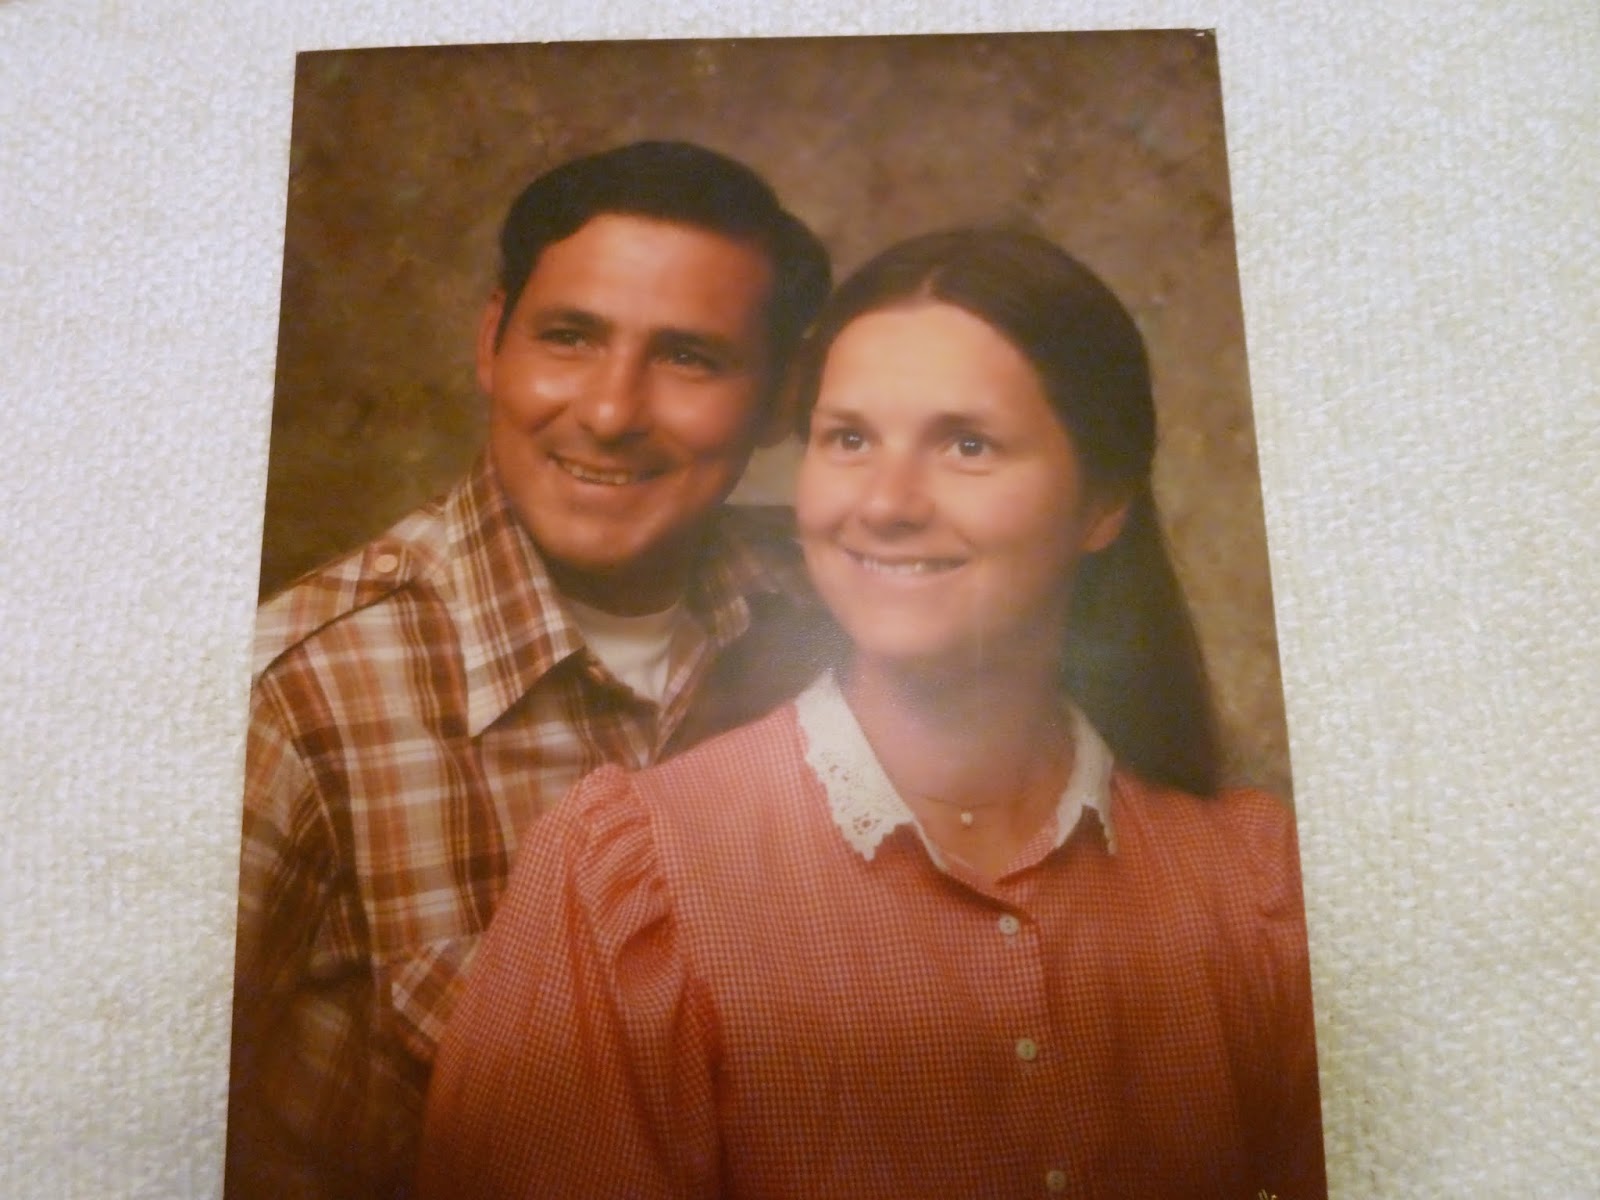
Some years later... about the time this next one was taken.

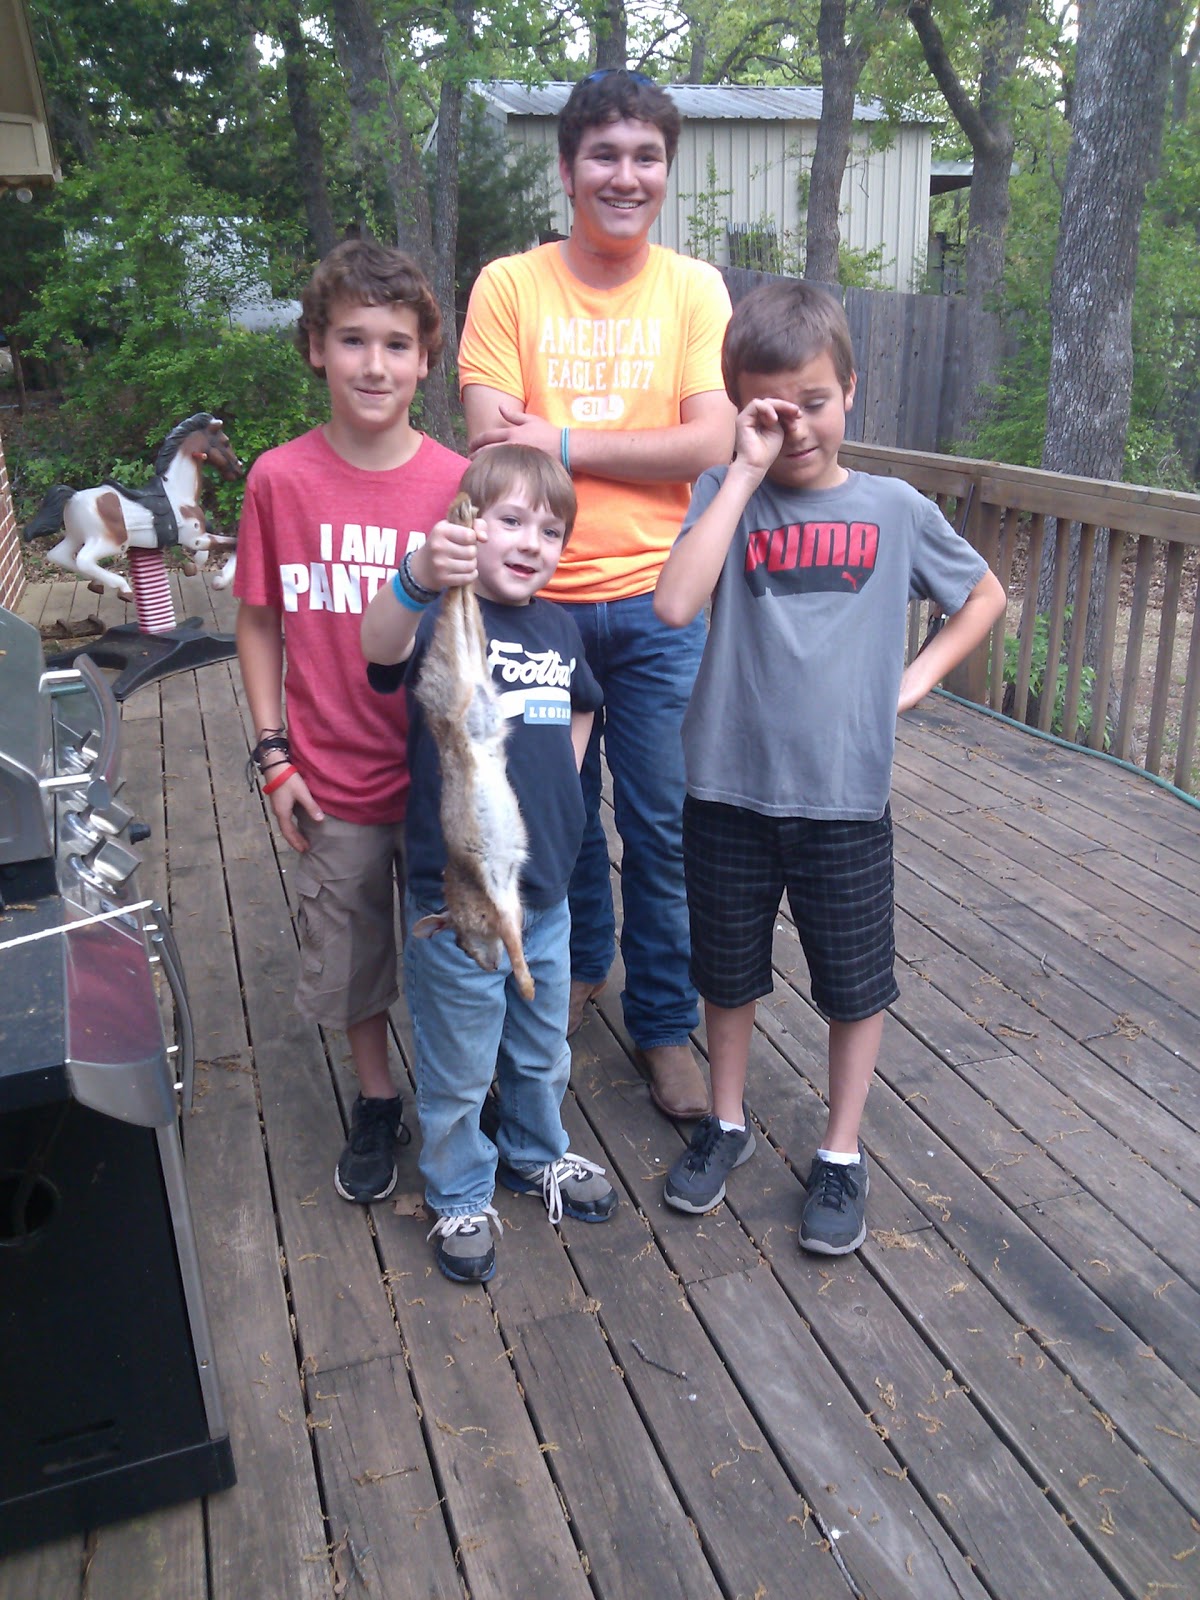
Blessings from the Lord. Yes, we were quite busy.


I have to say I haven't always been the help-meet that Lord wanted. I have been stubborn and will full at times. But my goal has been to be in God's will. I want that more than anything.

Monday, April 28, 2014

Roseville and Mes Amis

Pin It
For several years we have attended/sold at the show in Roseville called "Tattered House" and now Mes Amis. Don't worry, I can't pronounce it either. It is french for my friends or something like that.

We have had the same spot and have gotten rather used to setting up in our own little corner of the world.
We have questions all the time as to what we are called. It is not a business, just a reminder that we are your...


We like to take garden art and my husband's trade-mark restored treasures from old wood made new and usable again. I love how he takes something that is rather ugly and re-uses other parts to make something new and exciting. Sometimes it involves changing the top, or putting on a metal top, painting, gluing, sanding, or giving a piece legs or casters. I have seen him take one piece and it turns into two pieces that are charming. We have people tell us all the time that they love our pieces. Hmm, it is my husband's work, can I share in it too?

A cabinet that can be hung or just placed on another surface with some of my "stuff" inside to show usage.
The tall table on casters can be used as an island or work station.
We have had couples buy such pieces to use as a changing table!
I'm sure they will find many uses later on.

Another cabinet placed on what we call a small island/work station. Very useful.
Oh, look, there is a vintage ice chest. Perfect for the "man cave".

This was a 'bin table' but the half-round drawers were damaged and Mr took them off and restored the top. He cut a tall cabinet in half for the hutch piece. Ironstone, bowls and glasses show it off well. The bench was a perfect fit for the whole.


The top on this one lifts up and there is storage inside. You could use it for gardening, or in a kitchen for storing goods or cooking things.

I like this one. It seems to have been a "receiving desk" from long ago. The slanted top would be perfect for a desk, or use it as an island. It is a lovely "mix" of industrial and practical. There is also storage inside for whatever you wish.

These were just a sneak peek at some of the items that we take to shows like Mes Amis and others.

What one is your favorite?


Sunday, April 27, 2014

Spring Petaluma

Pin It
We visited a show in Petaluma, California today. It was teaming with people selling, buying and just having a good time.


We parked and came up to the closed off street that housed hundreds of booths.

I "shot" this into the sun. Petaluma Antique Faire.
Some places you could hardly walk it was so crowded. I hugged my purse and Mr put his wallet into a front pocket. We were safe... well, safety minded. We had no problems.

All kinds of goods were offered, from vintage clothing to the dishes that grandma used in her kitchen to kettle korn and in between.


Old friends reconnecting.

Garden art was very prominent.

We may "do" this show in the fall. It covers two city blocks and a parking lot.

Well, just to give you an idea of a show in the area. After this, we went home to rest our weary feet. And what we purchased? A coffee, some hugs from some friends and a day spent together. What could be better?

Friday, April 25, 2014

Fussy Old People

Pin It
Fussy old people. You know the ones. "Where is my cup? Not that one, I like the one with the thick edge. I like that one."  "Did anyone see where I put my glasses? Oh, I have them on? Hmm?"  "Do you have a fan? It seems like I'm hot in here." And on and on.

We just returned from visiting our children in Texas. I must tell you that they were very long-suffering with us. We were treated like royalty. "Let 'Honey' have the front seat so she can get in and out better". "Dad, would you like something to eat to hold you over before dinner?" "Papa likes this kind", and on and on. We were made to feel so welcome.

The two girls and our son planned a day of fun for the guys and the same time a day of shopping for the girls. Not to forget the son-in-laws and daughter-in-law, they accommodated our every whim.  My poor granddaughter had to listen to stories from long ago til her eyes glazed over. She told her mother later, "'Honey just told me her life story". Hmm, I will have to make it shorter next time! (and she didn't hear all of it!)


Schedules were changed, beds were given up. Menus planned just for us. We were together nearly every day with frequent phone calls and texts in between.

A family whiffle ball game had us all cheering. It didn't matter who was hitting (or not hitting), we just all wanted to "let the kid out".


New sunglasses

Taking a rest

Styling

Family whiffle ball


Our normal heavy hitter couldn't get a hit. She blamed it on a need for glasses.

Some enjoyed watching.

One granddaughter just redid her room

And, made this picture for it, don't you just love the spelling?

Many poses were taken with this poor rabbit who died making a little boy happy.

Boy cousins.

I finished another rug for a 40th birthday coming up.


We had a wonderful time and look forward to returning. 


Sunday, March 23, 2014

Knotted Rag Rug Tutorial Revisited

Pin It
Many moons ago I did a post tutorial on how to make rag rugs without any sewing. In fact I did two posts. You can see them here and here.

Well, it has been a while since I have made a rug. But, when I was cleaning out my fabric stash, I found several pieces that just had to be made into rugs. You don't necessarily have to use rags, it is just a term we fabricolics use for unused as of yet fabric [...;-)...]

I came up with fabrics for two rugs. One for my self and one for a gift.
Sheets can be used for strips, tablecloths that you no longer use, or just plain fabric that has been sitting in your closet for far too long (my case). If you were to purchase fabric, it would take a lot. That is probably why our grandmothers used fabrics from old shirts, trousers, edges of sheets that were worn out in the center. You get the idea. Fabric is expensive. Scour yard sales and get some for bargain prices. The most memorable rugs will be from fabrics that you love, and you won't break the bank.


Here is one that was recently finished for a birthday gift.


Not every one's choice, but there is a vintage blue and yellow kitchen that it will go in.


As I was making this one, I thought back to the tutorials that I did.
I thought perhaps a remake would be in order because maybe, just maybe a new take would make more sense.

So, hopefully, if you read the other posts AND this one, it may answer questions you have.

I "try" to lay out the fabrics that I want to use. I am rather "color challenged" and often ask my daughters for help in selecting colors. What I think at first would be great, sometimes clashes later...

Here are some fabrics I was considering and I actually tore some into strips. I was looking for a bright, colorful finished rug... Just to ease your mind, most of this was not used. Looking at it later showed me, Whoa there! not good choices. So I tried the rainbow approach, somewhat better. Mr likes this rug better than the blue and yellow rug, so I guess everyone to their own taste (as the old woman kissed the cow!)


Depending on how tight you knot, you will have either gaps or "knot".

My favorite part is the red part... I just knew you wanted to know...

Currently residing in front of the range. Cushy 
******

I take the fabric, cut off the selvage edge and then use my first finger to measure out approximately three inches. I found out long ago that this finger measures three inches, who would have known...
At the three inch mark, I make a snip with my scissors in the fabric and go on to the next snip place. After about six or eight strips, I start tearing the fabric from edge to edge. (If you don't cut off the selvage, your threads go back and forth and unravel forever, cutting it off stops that from happening). Fold it and pull at the edges to get those strings that will happen. Getting them ahead of using the strip will ease your use later.

Cut a little hole in each end of the strip for joining. This is done by folding over about 1/2" down, fold it in half again side to side, then cut a little of the corner. When you open it back up, you will find a little hole. You will use this hole to join your strips. You will not be sewing them together unless that is something you want to do. Personally...

Can you see the holes? (as a side note, I loved this fabric at first, it had all the colors that I wanted for the rug I was making. Looking back, I do not like it in the center of the finished run, but given some time and dirt, it will fade to a lovely tan...

Take the end and fold it into itself by thirds, and then in thirds again. This makes a really small end that you will thread onto a safety pin. The pin makes going into your holes so much easier than if you didn't have it. Trust me.


Now, lay the two pieces with exposed holes over each other, Right Sides up... It doesn't matter if one is a little wider than the other, that part of the edge will be folded in and you won't notice it at all.


Now, you can do this you know, grab the end of the top strip and bring it up from underneath through the hole. Use the safety pin to poke it through.


Pull, pull it through. You may think you have a mess, but keep it coming. it will fold into itself and look like this
See the torn end up there? These little torn ends will be throughout your rug, but they will be relatively unnoticeable (relatively...)

From the back, smooth out the edges by pulling on each side. It will almost curl around on the edges.


Now you have joined two strips together. You will be working with two strips the whole time, just joining another strip to the end when it get short. Notice that I have laid out these two strips, but staggered in length. That is because wherever there is a knot, there is a little bump. You will learn to work around these, but for the first few knots, it is best to not have the knot at the end of the round. This is the hardest part of the whole rug, so hang in there, you will make it.


Now wrap the right strip over the left and bring it under and through the hole.

You see here that I have pinned the end to the arm of the chair, ouch! That is to keep it stationary while I make those first few knots and for you to see it better. I just wasn't born with multiple arms.

See, that wasn't so bad. This knot you will use for the first row. Right strand over the left and back through the hole.
Do a series of knots, one on top of the other until you think you have enough for a center of an oval rug. Here there is about four and I think I did seven.

Now you will turn the corner by doing three knots in the same hole you just made, by taking the top strip, laying it down and wrapping the left strip over the top and going up through the hole. This is the knot that you use for the whole rug. The first row is different.

It's going to be a little bulky, but you can do it. Make a knot in each hole from your previous knots along the side. Count if it helps you. When you get to the end, make three knots in the end hole. You have completed one side! You are increasing each time you add extra knots. That will keep your rug flat and not curling up on the edges.

Can you see the strips/strands on the edges? That is where you poke your safety pin. Remember, top strip comes down, left strip wraps around and goes up through the bottom into the hole. Now that one is the top strip and you take the one from the left and wrap it over the top of the strip and up through the next hole. It is really much simpler than it sounds. Two color strips will give you a different look than if you use the same color. Those knots where you have joined strips together will be covered up when you come along with the next row.

See the one from the top and the one from the bottom? The bottom one comes from the left, wraps over the top of the right one.

Back side, just for you that are interested.

Adding another color by joining the new color strip

Hopefully this close-up shows you. I like to turn my strips so that the right side is always out. Sometimes it seems like you are turning it all the way around, but I like the way it turns out. It is not necessary to do this. The rug will still be very strong without this added step.

Keep going around, adding extra knots as you go to make the rug flat. You may want to work on a flat surface as it gets larger. It is your choice. And, add as many colors as you can to make it interesting. Go around and around and around many, many times. Make it as big or small as you want.

Now, I know I promised that there was no sewing, but a tip given to me by my daughter who has made many rugs herself, Sew the ends of the strips together on the last go around. It will make a smoother look and won't have those awkward knots to hide and the frayed edges to look at. Just if you want to.

I would love to see if any of you try this technique. Also, send me pictures, comments, questions. I am here to help if I can.

Linking up to:

Made By ME #120 Linky Party and Features