


Now, a couple of disclaimers right off...
We like our apples cooked, nary a crunchy one in the batch.
It was like the "Holy Grail" to find a pie that was cooked enough. So, if you are of the school that likes to see the slices, light and fluffy, this recipe is not for you.
Secondly, this post is heavy with pictures, it will bore you to death, or will spur you on to make a pie, whatever.
So, now to get on with it.
We have 11 apples trees - you can read about it here.
The apples that I am working with are somewhat small, so a pie takes more than 5 or 6of these little guys.


I love this little peeler, it has seen many years of use and is still going strong. I would recommend it in a heartbeat. Besides peeling, it slices the apples and cores them. All I do is cut the whole, peeled apple once across and toss it into a pot. Why a pot? you ask... because my apples are still some green and, like I said before, we like them cooked.

So, here are a few with more coming.

Here I am adding about a cup of white sugar and then,

say, 1/2 cup brown sugar

some cinnamon - perhaps a tsp, maybe more.
Measures are approximate because I have done this so many times, I tend to go by feel.


A couple good dashes of nutmeg

And about 1/2 cup of flour

Mix it up good and proper and put it on to simmer while you make the crust


I have found that a pastry cloth with a cover for the rolling pin to work great. I also buy my pie crust mix in the bulk section of the store. All I need to add is water. You do what works best for you. Here is about 3 cups of mix and I use perhaps 4 to 5 Tablespoons of water.

Your water should be cold. Here I have added an ice cube down in there to keep it cold.

The pie crust mix is crumbly without the added water. You add the cold, cold water, a tablespoon at a time until it starts clumping together. Don't stir, just bring the fork around the bowl from the bottom to the top and it will all get mixed in.

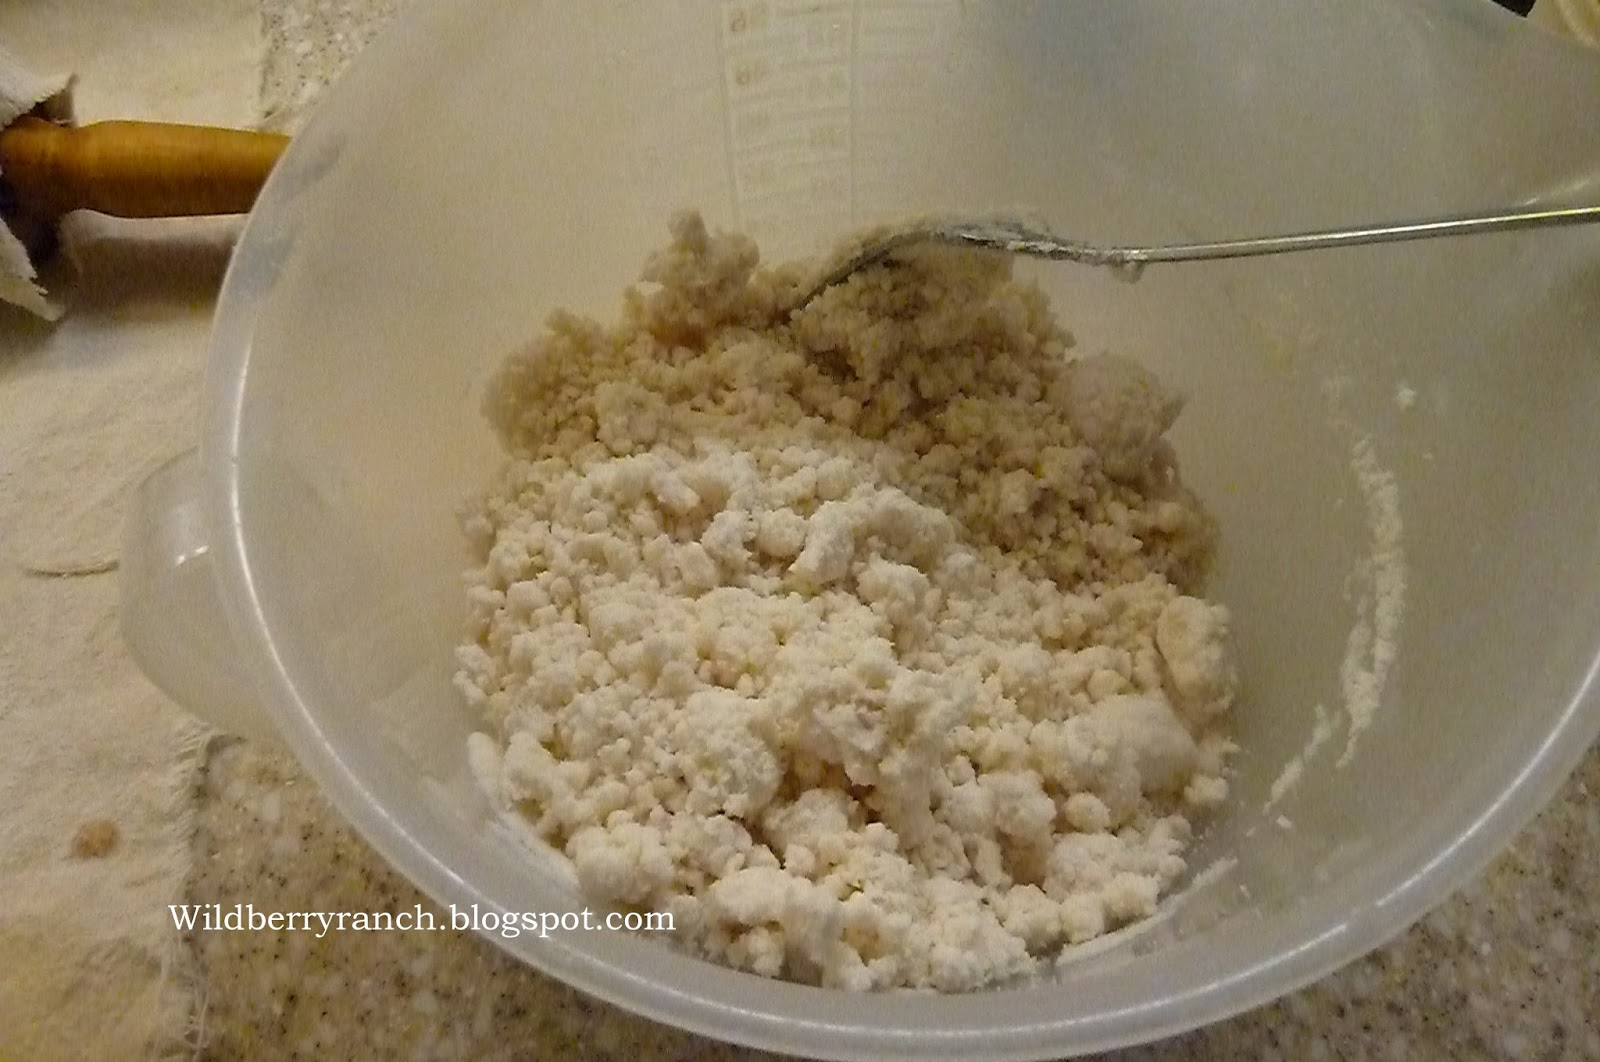
Can you see it getting more moist?

When it gets to the point that it sticks to the fork, then I stop adding water. I told you that I do this by feel...

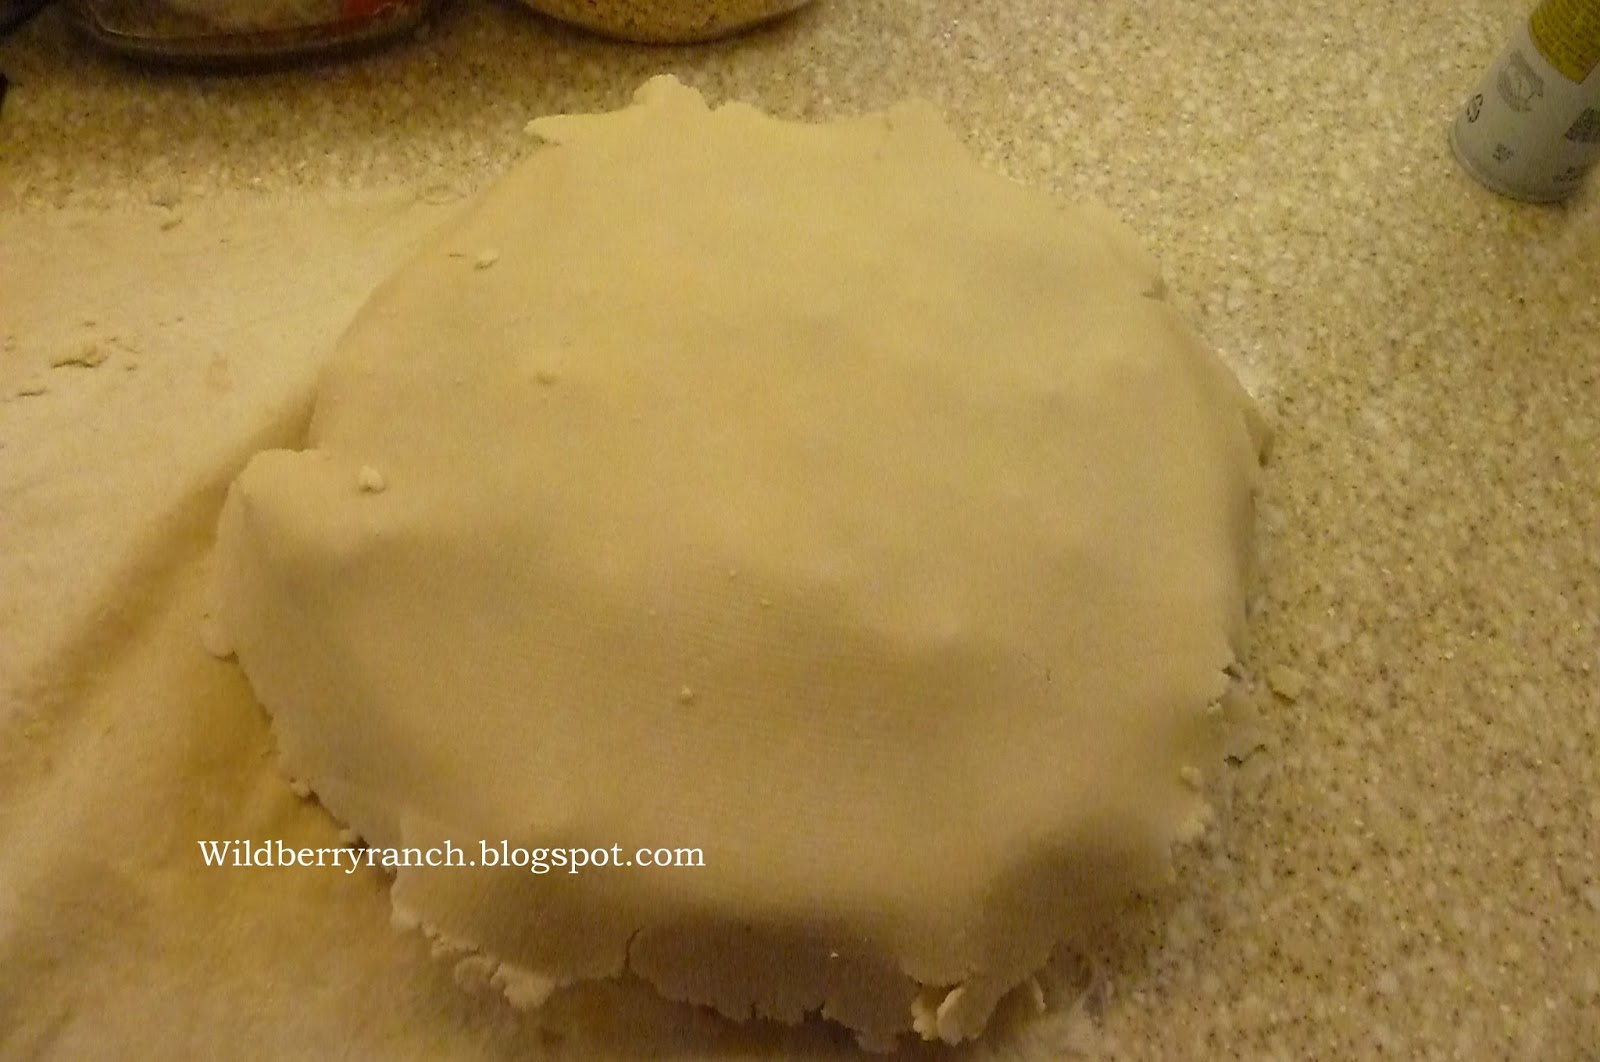
Now, that it is all fluffy, punch it down and divide it into half.

Form it into a ball, don't by shy, you are in control here.

If you haven't gotten out your pie plate, now would be a good time. I have found that spraying it with non-stick spray works good for me.


Here is the pastry cloth, ready to go with some flour sprinkled on it too.
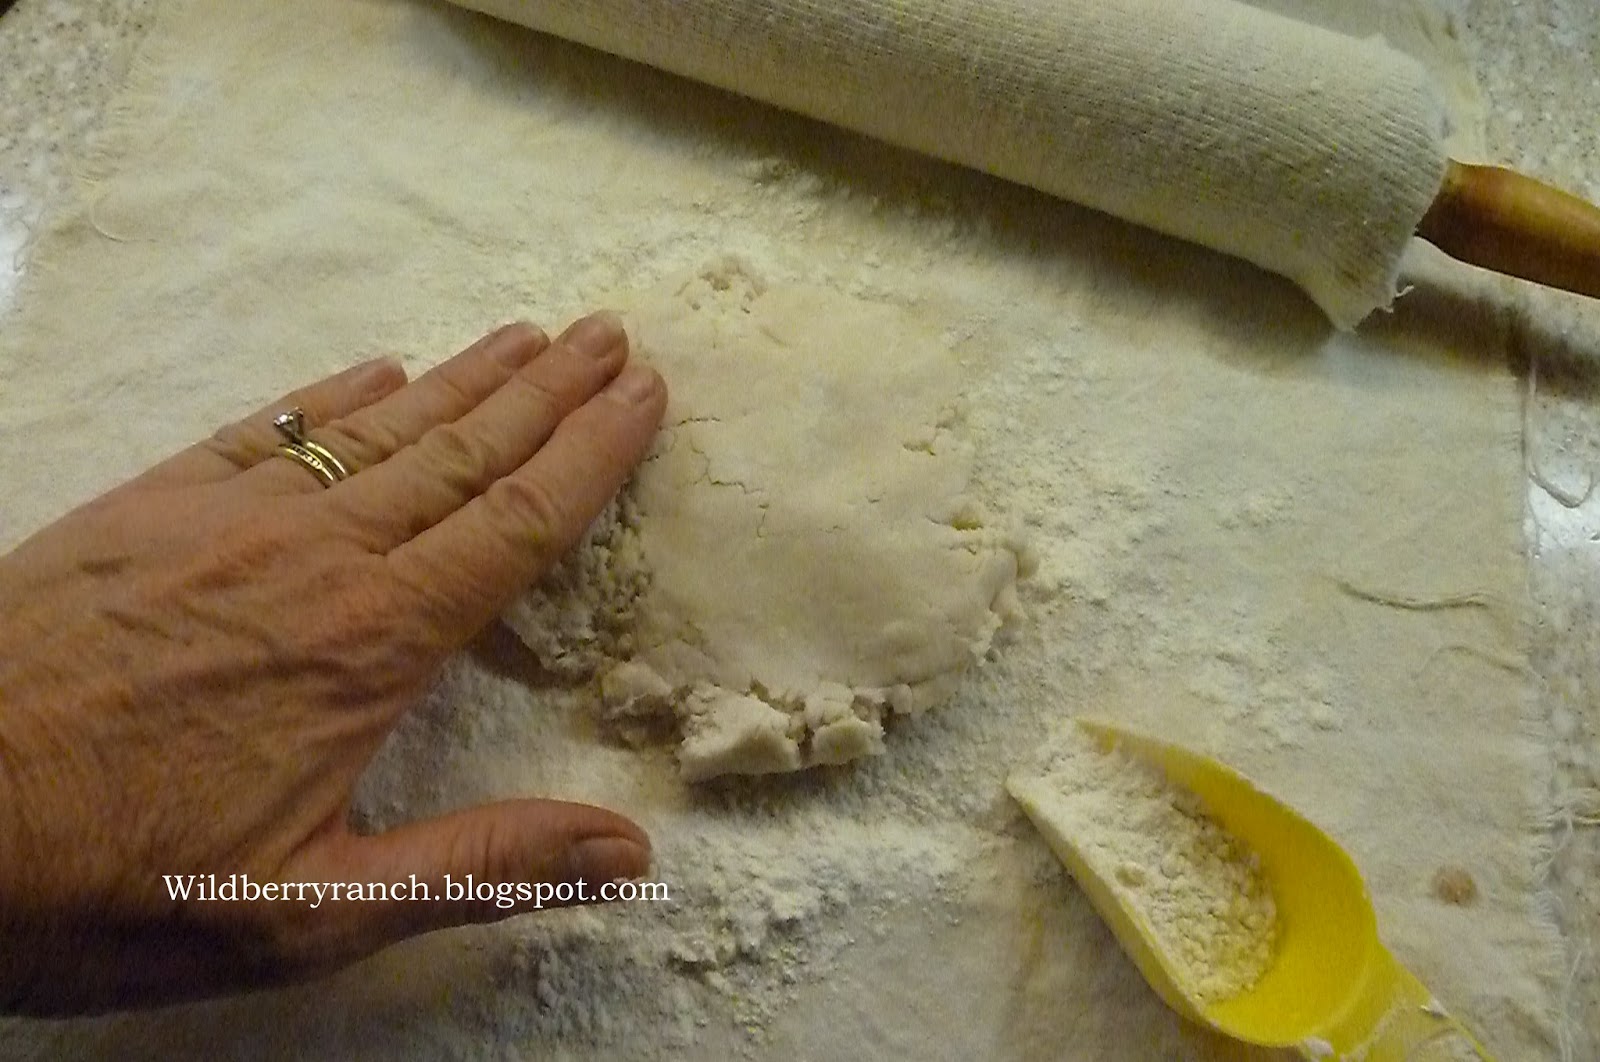
Take your half of dough and flatten it with your hand and then start rolling, working from the center to the outsides. I like to use the cloth because I can rotate the cloth around and make my pie dough somewhat round.

When you think you have it large enough, take your plate and put it down on the crust and measure. It should be larger than the pie plate by about 2 inches.


Okay, now move the plate, put your rolling pin on top of the crust near the center and flip the dough over it with the cloth, like this.

Now, move the plate near and lift the dough over the plate, centering it.

As you can see, it doesn't have dough all the way on one side, not to worry, it will all work out.

Don't forget that you should stir the apples on the stove every once in a while, answer the telemarker calls and let the dog out (no, kids we don't have a dog...)

If your apples have turned a warm cinnamony color, then pour them into your pie shell.

Here, I decided that I wanted more apples, so I peeled some more, added a little more sugar and cinnamon.


An important thing that I didn't realize was that every pie needs butter, margarine or some kind of "fat". Not that it doesn't already have enough to make you fat... Anyway, like when your mother showed you how to make gravy, you need fat, butter, etc, then flour to thicken the juices. In the same way, when you add the butter, it interacts with the flour and thickens the juices so that they make a lovely sweet gravy to go around your apples. Just think of it as a scientific fact and do it.

Roll out the other half of dough and flip it over the top of the rolling pin like before

Lift it over your pie
And cover the top

Roll the dough up like a little "levee" around the sides. I know, some of you don't live where there are levees. They are to keep the river in its banks during the rainy, flooding season. Just make a little mountain range all around the edge, combining the layers of the top crust and the bottom crust into one unit. There will be extra hanging off all over, its OK


Now take a knife and trim the pie crust to the edge of the pie plate. The extra will fall off, If you are like me, you may have to sample the crust to make sure you are preparing quality stuff.

Turn it around for your convenience, no sense in getting a crik in your neck trying to see the back side.

Now, with your little levee, pinch it between your thumb and first finger and give it a twist

Move over to the groove you just make and do it again, all the way around the edge until you meet where you started, Now, that wasn't that hard, was it? If all else fails, mash it with a fork, you just want to get the two crusts to stick together.

You have a lovely pie ready for the oven, but wait! you need to bake it on something. I don't think I have ever baked a pie without it running over, so, I use a cookie sheet and then I got smart (so I didn't have to scrub the cookie sheet) and use foil over it, so I can throw the foil away (sure enough, you will see later that it did run over some)

Cut some slits in the top to let out steam

Now what to do with the left-over crust trimmings. Well, you can make yourself sick by eating it, or...

Roll it out again and cut out a design. Here is a rough apple with a few leaves.

I laid them out on top of the pie for decoration

Start the pie at 400' and cook it for 15 minutes - then turn the oven down to 350' and cook for additional 45 to 50 minutes or until when you insert a sharp knife or cake tester, you don't feel a 'crunch' as it goes through the apples.
Finished pie, juices running out the edges


It was good
Linking to:
Apple pie is one of my favorite treats and I love finding new recipes. Thanks so much for sharing this one.
ReplyDeleteHugs,
Laura
WHATT!!!! No homeade pie crust! I didn't know that was an ooption. :)
ReplyDeleteWe love all desserts with apples :)
ReplyDeleteAnd this pie looks AMAZINGLY BEAUTIFUL
Thanks for the tutorial :)
Your apple pie looks delicious! Now it makes me wish I had an excuse to make one. I always use my husband's grandmother's recipe that she came up with years and years ago, it's the best I've ever tasted!
ReplyDeleteThanks so much for stopping by The Cozy Old Farmhouse and taking the time to leave comments. I appreciate it so much.
Oh man - does that ever look good. And your apple peeler - well what a tool! You're working hard it sounds like - you deserve whatever goodies your hands can come up with. Don't think it gets much better than apple pie tho...
ReplyDelete